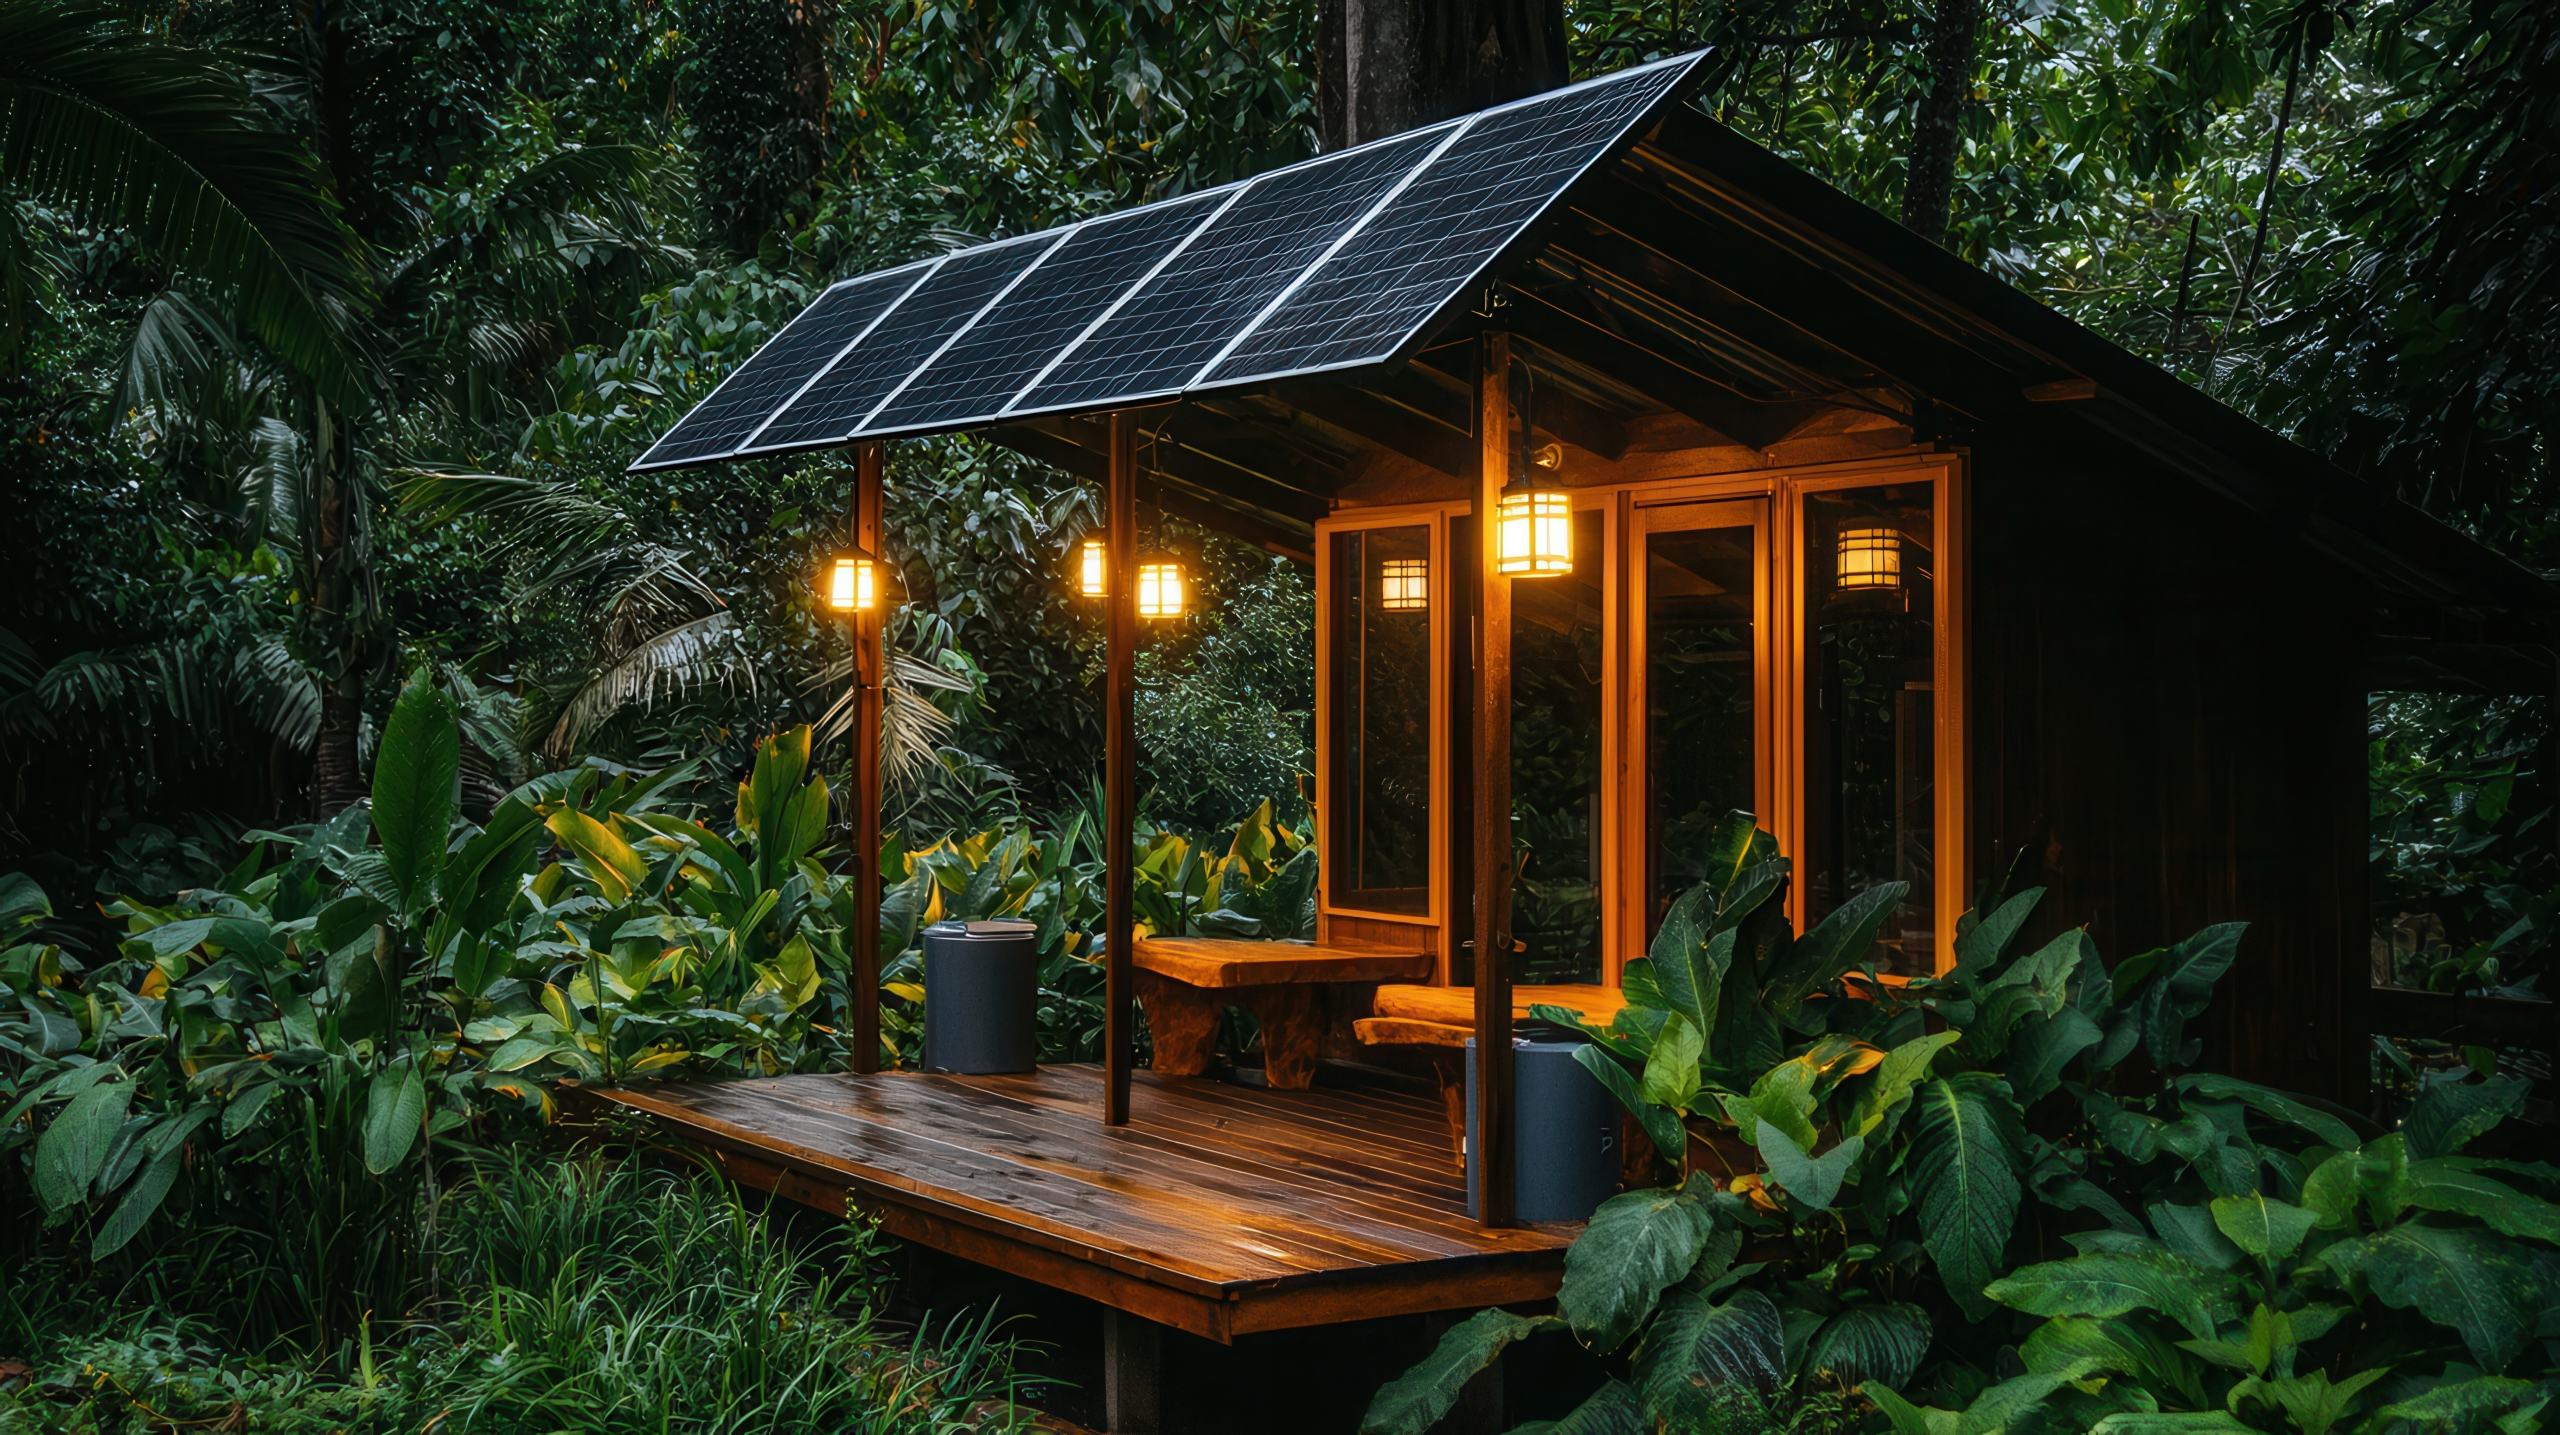
This guide will walk you through the process of designing and installing an off-grid solar power system with batteries. Whether you’re powering a cabin, RV, or tiny home, follow these steps for a safe and efficient setup.
Step 1: Determine Your Power Needs
Before buying equipment, calculate how much electricity you need.
A. List Your Appliances & Devices
| Appliance | Power (Watts) | Hours Used/Day | Watt-Hours/Day |
|---|---|---|---|
| LED Light | 10W | 5h | 50Wh |
| Laptop | 50W | 4h | 200Wh |
| Refrigerator | 150W | 8h (intermittent) | 1200Wh |
| Total | 1450Wh/day |
B. Calculate Battery Capacity Needed
- Daily Consumption: 1450Wh
- Days of Autonomy (backup days): 2-3 days (if no sun)
- Battery Voltage (typically 12V, 24V, or 48V): 24V
- Depth of Discharge (DoD): 50% (lead-acid) or 80% (lithium)
Formula:Battery Capacity (Ah) = (Total Daily Wh × Days of Autonomy) / (Battery Voltage × DoD)
Example (24V, 50% DoD):(1450Wh × 3) / (24V × 0.5) = 362.5Ah
→ You need ~400Ah @ 24V battery bank
C. Determine Solar Panel Requirements
- Peak Sun Hours (PSH): Check your location (e.g., 4h/day)
- Solar Panel Wattage Needed:
Total Daily Wh / PSH = 1450Wh / 4h = 362.5W
→ Round up to ~400W solar panels
Step 2: Choose Your Components
A. Solar Panels
- Type: Monocrystalline (most efficient)
- Wattage: 100W, 200W, or higher (adjust based on needs)
- Voltage: 12V, 24V, or higher (must match charge controller)
B. Charge Controller
- Type: MPPT (more efficient) or PWM (cheaper)
- Voltage Rating: Match battery bank (e.g., 24V)
- Current Rating:
Solar Panel Wattage / Battery Voltage- Example:
400W / 24V = 16.6A→ Choose 20A MPPT
- Example:
C. Batteries
- Type:
- Lead-Acid (cheaper, shorter lifespan)
- LiFePO4 (expensive, longer lifespan, better DoD)
- Capacity: As calculated (~400Ah @ 24V)
D. Inverter
- Type: Pure Sine Wave (for sensitive electronics)
- Wattage: At least 20% higher than max load
- Example: If max load is 1000W → 1200W inverter
- Voltage: Match battery bank (12V, 24V, 48V)
E. Other Components
- Battery Cables (thick gauge for high current)
- Fuses & Breakers (safety!)
- Mounting Hardware (for solar panels)
- Disconnect Switches (for maintenance)
Step 3: Install the System
A. Mount Solar Panels
- Location: South-facing (Northern Hemisphere), tilt angle = latitude ±15°
- Mounting Options: Roof, ground, or pole mount
- Wiring:
- Series: Increases voltage (e.g., two 12V panels → 24V)
- Parallel: Increases current (e.g., two 12V panels → 12V, higher amps)
B. Connect Charge Controller to Batteries
- Turn off everything.
- Connect battery terminals to charge controller first (prevents damage).
- Use proper fuses (e.g., 40A fuse for 24V system).
C. Connect Solar Panels to Charge Controller
- After batteries are connected, wire solar panels to charge controller.
- Check polarity (+ to +, – to –).
- Use MC4 connectors if needed.
D. Connect Inverter to Batteries
- Use thick cables (e.g., 2/0 AWG for high current).
- Install a fuse between battery and inverter (e.g., 150A for 2000W inverter).
E. Ground the System
- Connect negative battery terminal to a grounding rod.
- Follow local electrical codes.
Step 4: Test & Monitor
- Check voltage readings on charge controller.
- Test inverter with a small load (e.g., phone charger).
- Monitor battery levels (don’t over-discharge).
Step 5: Maintenance
- Clean solar panels every few months.
- Check battery water levels (if using lead-acid).
- Inspect wiring for corrosion or damage.
Final Notes
✔ Safety first! Wear gloves, goggles, and turn off power when working.
✔ Start small and expand later if needed.
✔ Consider professional help for large systems.
Now you have a fully functional off-grid solar power system! 🌞🔋

