Harvesting rainwater is an excellent way to secure a sustainable water supply for off-grid living, gardening, or emergency use. This guide covers everything from planning to maintenance.
Step 1: Determine Water Needs & Legal Considerations
A. Calculate Your Water Demand
| Usage | Gallons per Day (GPD) |
|---|---|
| Drinking/Cooking | 2-5 GPD per person |
| Showering | 5-10 GPD per person |
| Laundry | 10-20 GPD per load |
| Gardening | 5-20 GPD per 100 sq ft |
Example: A family of 4 may need 100-200 GPD (including basic needs and gardening).
B. Check Local Regulations
- Some areas restrict rainwater harvesting or require permits.
- Avoid collecting water from asbestos or toxic roofs.
Step 2: Choose a Catchment Surface & Location
A. Best Roof Materials for Rainwater Collection
✅ Metal (best runoff, easy to clean)
✅ Tile (good, but may leach minerals)
🚫 Asphalt shingles (can contain toxins)
🚫 Wood shakes (can mold and rot)
B. Calculate Collection Potential
Formula:Gallons per Rainfall = Roof Area (sq ft) × Rainfall (inches) × 0.623
Example:
- 1,000 sq ft roof
- 1 inch of rain
→1,000 × 1 × 0.623 = 623 gallons
Tip: Use historical rainfall data to estimate yearly supply.
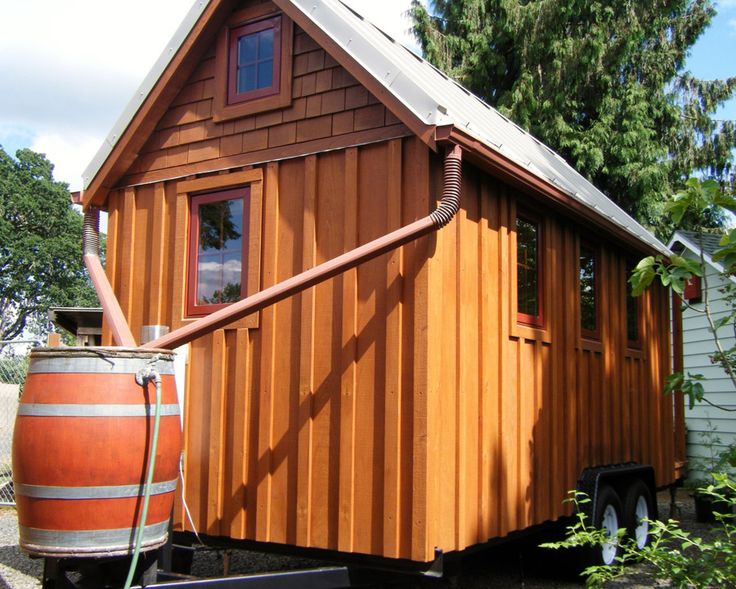
Step 3: Install Gutters & Downspouts
A. Gutter Setup
- Material: Aluminum or PVC (rust-resistant)
- Slope: ¼ inch per 10 ft for proper drainage
- Leaf Guards: Prevent debris buildup
B. Downspout Diverter
- Install a first-flush diverter (discards dirty initial rainwater).
- Use a mesh screen to filter debris.
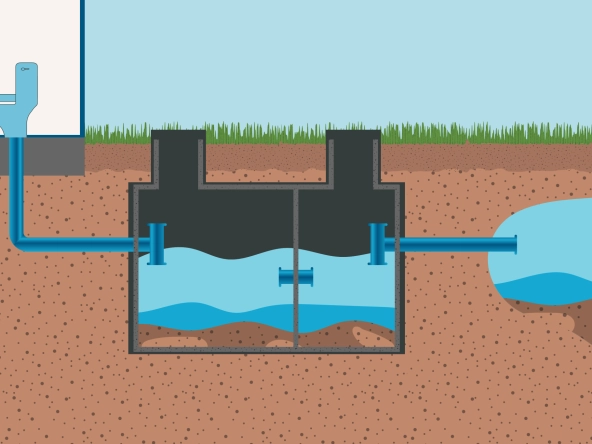
Step 4: Choose & Install Storage Tanks
A. Tank Types
| Type | Pros | Cons |
|---|---|---|
| Polyethylene (Plastic) | Lightweight, affordable | Can degrade in sunlight |
| Fiberglass | Durable, UV-resistant | Expensive |
| Concrete | Long-lasting, stable | Heavy, may leach lime |
| Metal (Galvanized) | Strong, rodent-proof | Can rust over time |
B. Sizing Your Tank
- Minimum: 500–1,000 gallons for basic needs
- Larger systems: 5,000+ gallons for full off-grid use
Placement Tips:
- Elevate tanks for gravity-fed water pressure.
- Keep in shade to prevent algae growth.
- Bury tanks if freezing is a concern.
Step 5: Filtration & Purification
A. Basic Filtration (Pre-Storage)
- Mesh filters (on gutters & downspouts)
- First-flush system (discards first 10-20 gallons of dirty water)
B. Post-Storage Treatment (For Drinking)
- Sediment Filter – Removes dirt & particles
- Carbon Filter – Removes chemicals & odors
- UV Purifier or Chlorine – Kills bacteria & viruses
Non-Potable Use (Gardening, Cleaning):
- No treatment needed if not drinking.
Step 6: Pumping & Distribution
A. Gravity-Fed System (Simplest Option)
- Tank must be elevated (e.g., on a stand).
- PSI = 0.433 × Height (ft)
- Example: 10 ft height → 4.33 PSI
B. Electric Pump (For Higher Pressure)
- 12V/24V DC Pump (for off-grid solar setups)
- AC Pump (if connected to inverter/generator)
C. Piping & Faucets
- Use PVC or PEX pipes.
- Install frost-proof spigots if in cold climates.
Step 7: Maintenance
✅ Clean gutters & filters every 3-6 months.
✅ Inspect tanks for leaks or algae.
✅ Drain & clean system before winter (if freezing).
Final Tips for Success
✔ Start small (e.g., a single barrel for gardening).
✔ Use dark-colored tanks to prevent algae.
✔ Add mosquito screens to tank inlets.
Now you have a fully functional rainwater catchment system! 💧🌧